Here is the step by step guide for how to integrate Kochava with AppSamurai in order to create mobile ad campaigns.
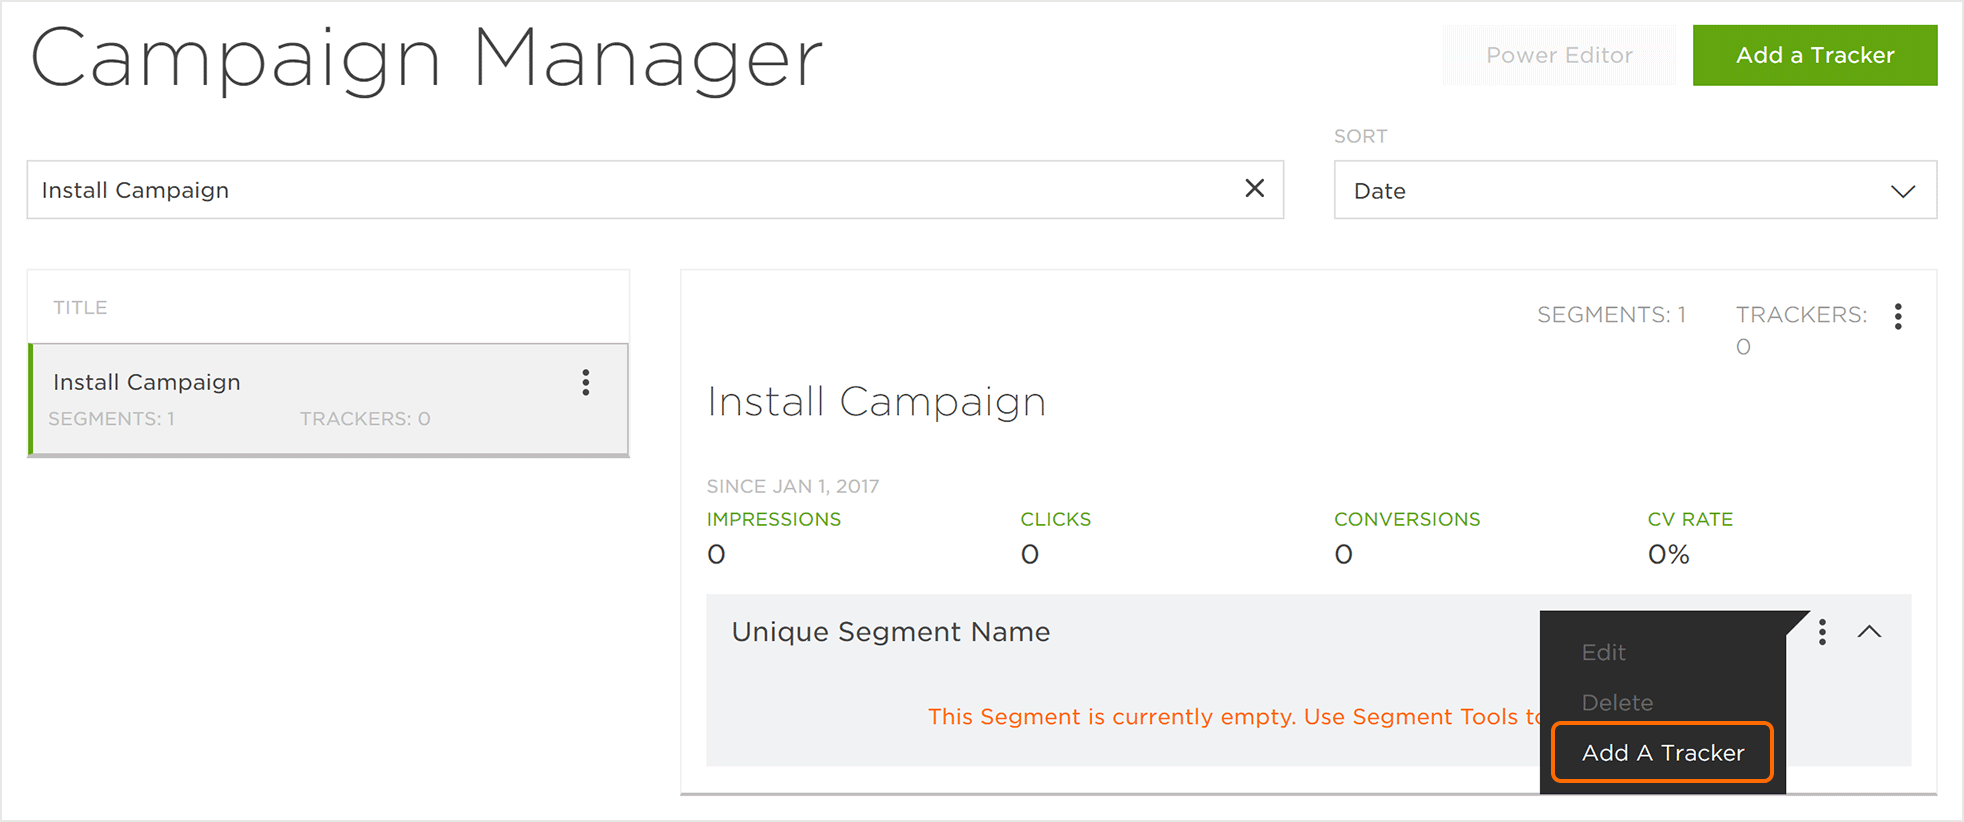
- Access Kochava: Log in, select your account and app, and navigate to "Links > Campaign Manager."
Create a Tracker: Click "Add a Tracker" or use "Segment Tools > Add a Tracker."
2. Campaign/Segment Setup
-
Set Up Campaign/Segment:
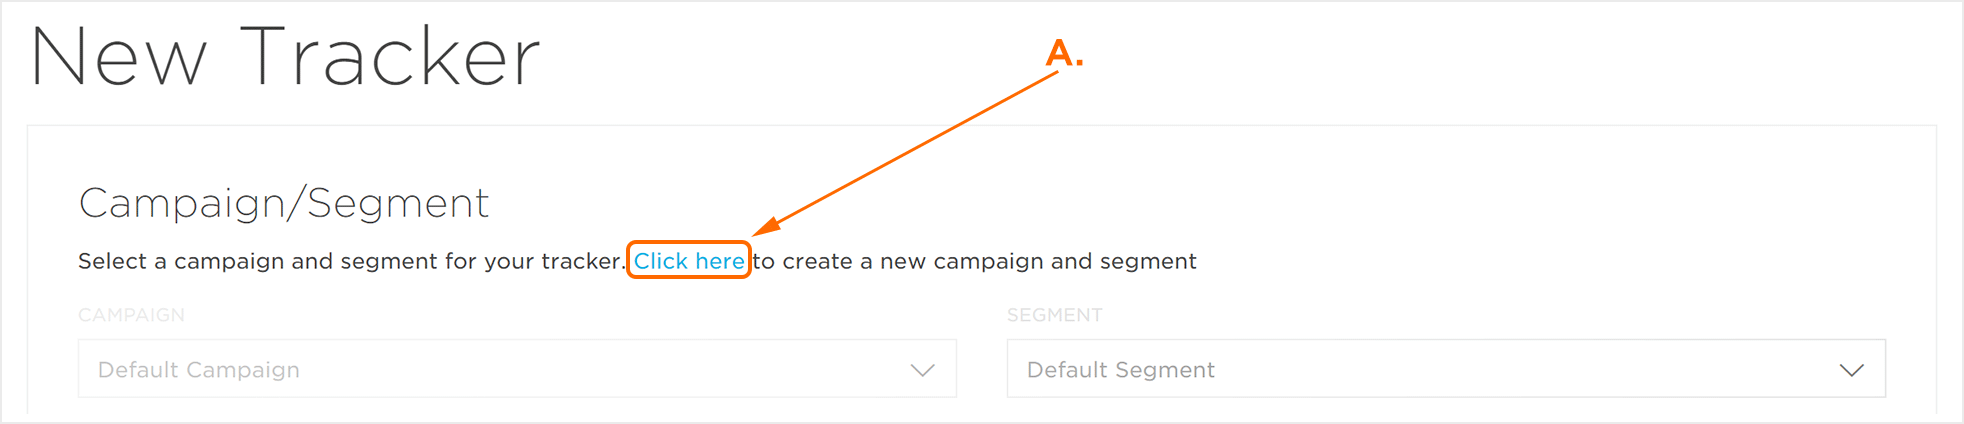
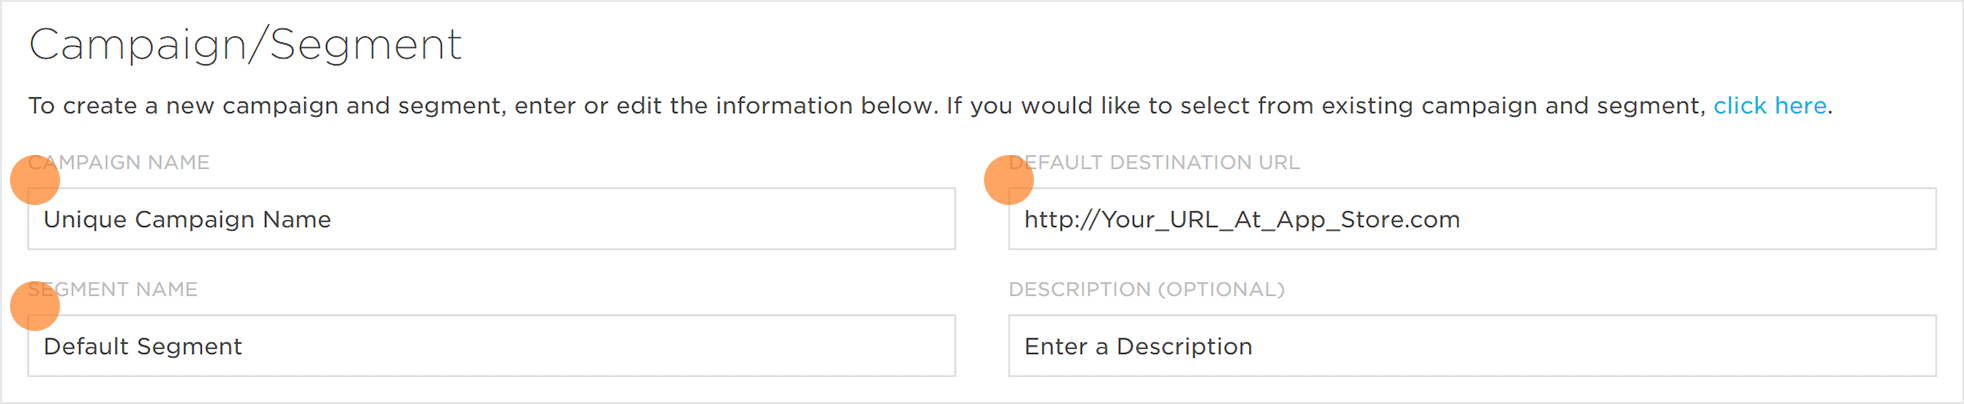
- New: Click the provided link, enter Campaign Name, Default Destination URL, Segment Name, and optional Segment Description.
-
Existing: Select your existing Campaign and Segment.

-
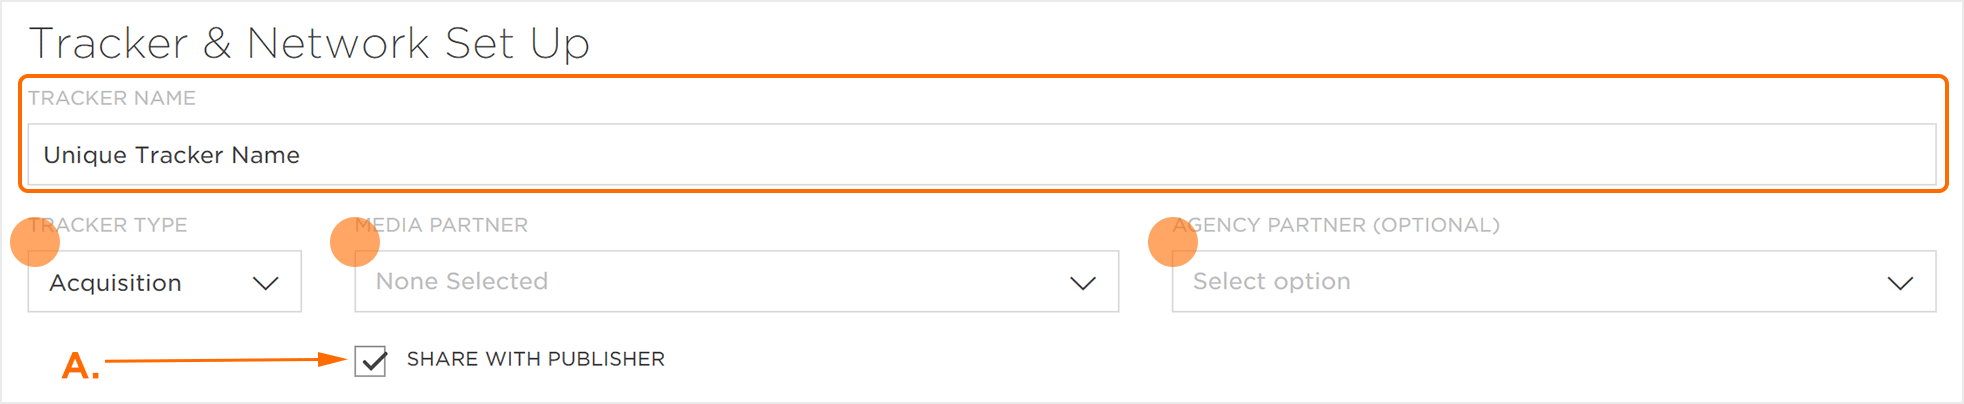
Configure Tracker Settings (Crucial):
- Enter a Tracker Name.
- Select Tracker Type > Acquisition.
- Choose AppSamurai as the Media Partner.
- Crucial: Allow AppSamurai to view tracker settings.
- Select Destination URL Type and enter the Install Destination URL.
- Click Save & Create Postback (if required).
-
Provide Click and Impression URLs:
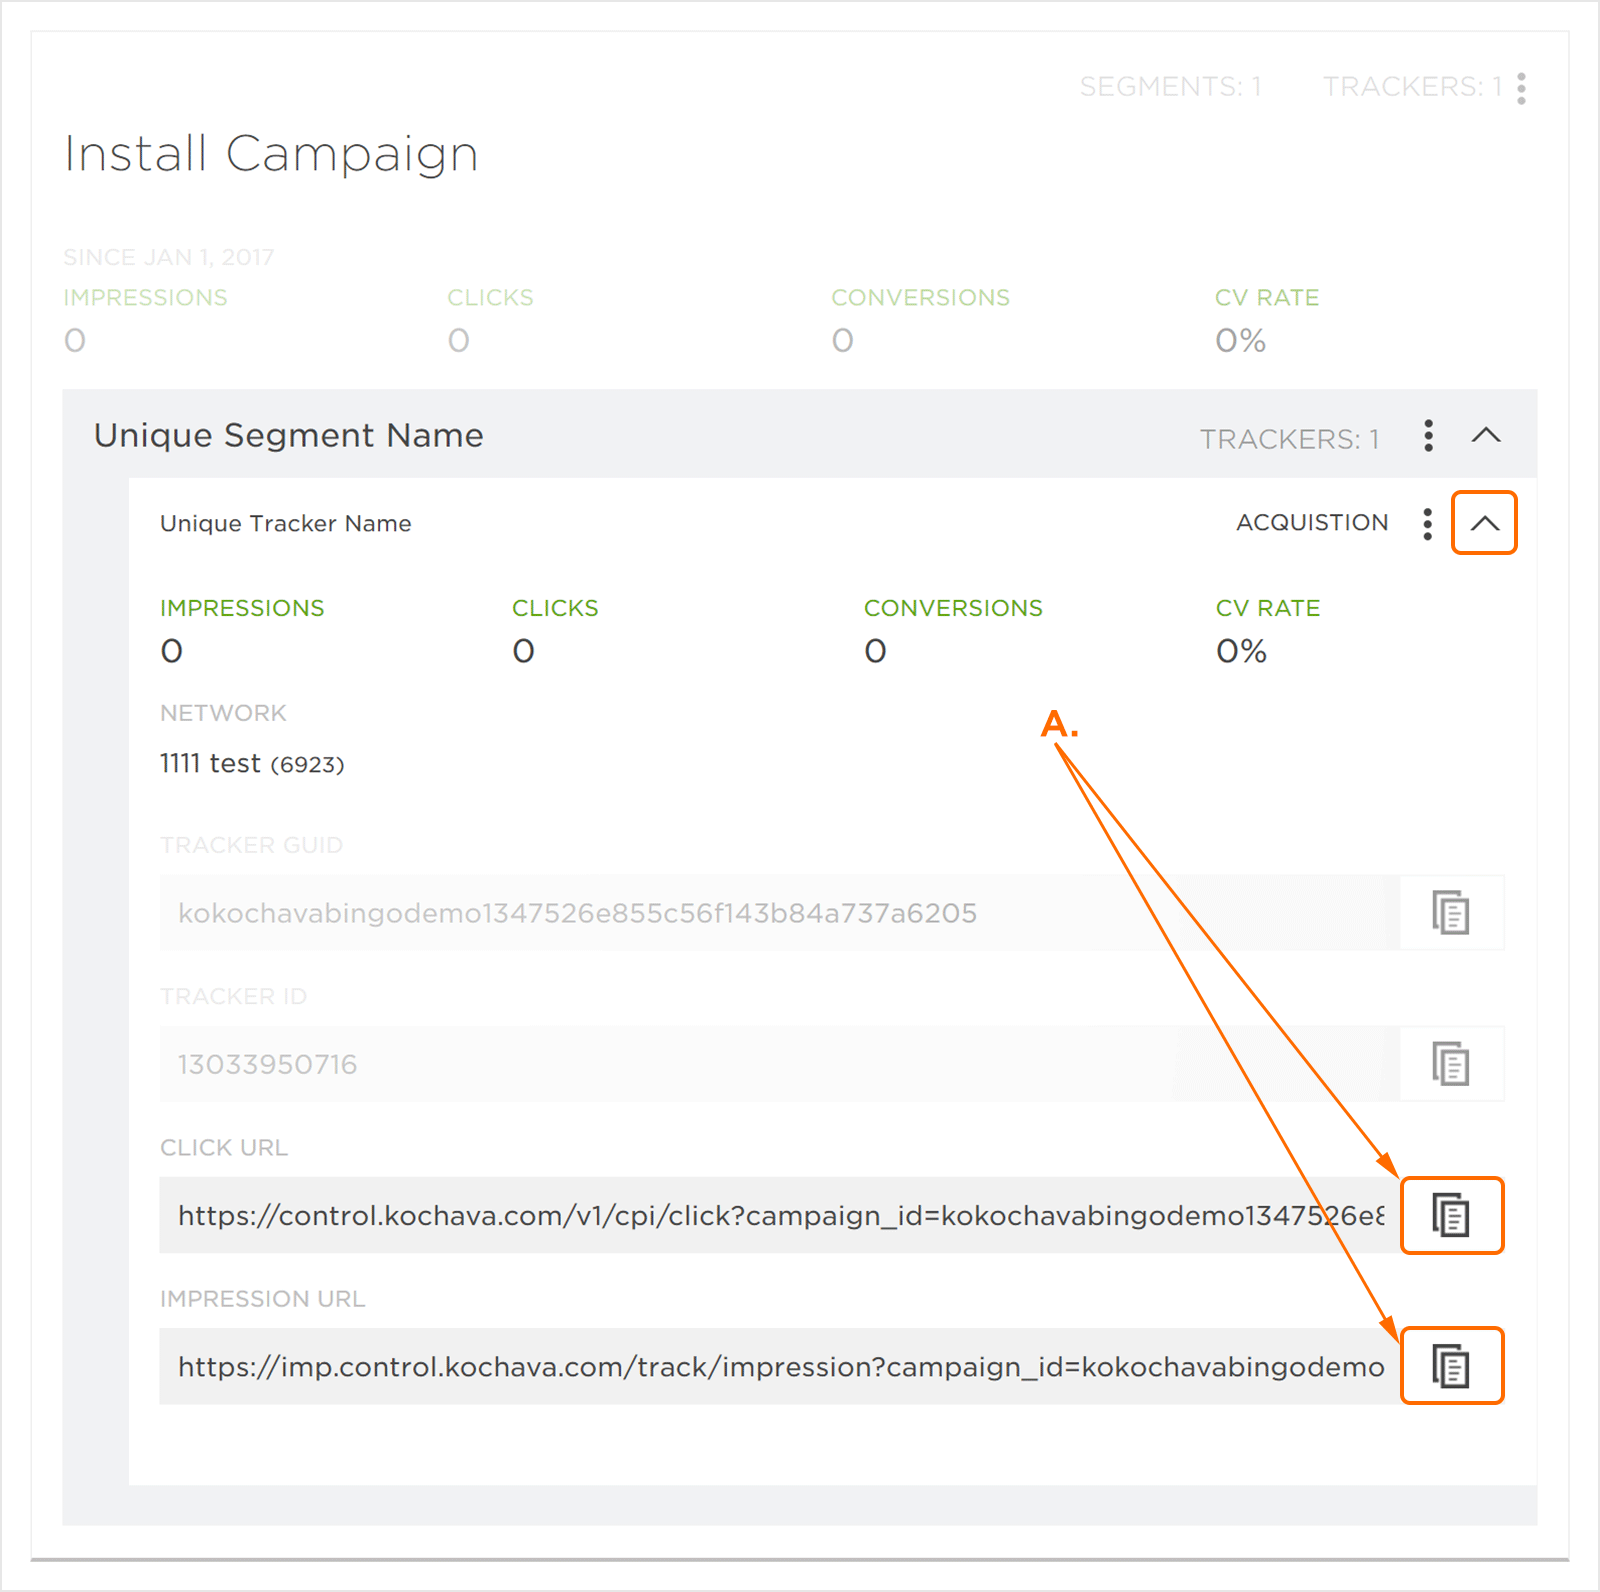
- Copy the Click and Impression URLs and send them to AppSamurai.